Shoes are essential to our everyday life. They provide us with the foundation we need to take on whatever life throws at us, regardless of whether it’s going for a job interview or just taking a walk in the park.
But when shoes become worn out and outdated, their foundation begins to crumble – literally! DIY sole replacement is an easy way to give your shoes new life and bring them back up to par. With this simple technique, you can transform your favorite pair of shoes into something that looks brand new while giving them a sturdy base they can stand on once more.
Keep reading and learn how you can make sure your shoe game never falls short again!
Gather Your Materials

Gathering the materials for your DIY sole replacement project is a key step in giving your shoes a new foundation. Before you start, make sure to have all of the necessary items on hand; this includes adhesive glue, various cutting tools, and protective wear. Depending on the type of shoe you are working with, there may be other materials required too.
You’ll also need an old pair of soles that can be used as templates or guides for cutting out new ones from rubber or leather material. Take time to research what kind of tools and supplies best suit your project so that when it comes time to execute the repair work you will have everything needed available.
Prepare the Shoe
Preparing the shoe for a DIY sole replacement is essential to ensure that your shoes have a strong and durable foundation. There are several steps you must take before starting the process, including cleaning the existing sole and making sure that there are no nails or stano nails or staples protruding from any rough edges. Once this has been done, it’s time to measure and cut out an appropriately sized piece of new rubber-soled material – taking into account both wear patterns and desired arch support – before adhering it to the bottom of your shoe with adhesive.
Additionally, some soles will require stitching for extra stability; if so, be sure to use waterproof thread as well as reinforced holes when needed. With careful preparation and attention to detail in these simple steps, you can give your shoes a solid new foundation while enjoying all the benefits of doing it yourself!
Cut and Attach New Sole

Replacing the sole of your shoes can be a daunting task, but don’t worry – it’s not as hard as you think. With the right tools and a little bit of patience, you can give your shoes a new foundation in no time.
The first step in replacing the sole is to make sure that you have all of the necessary materials: heavy-duty scissors or shears for cutting away the old sole, glue for attaching the new one, and sandpaper so that you can smooth out any rough edges. You’ll also need to make sure that you have purchased an appropriately sized piece of rubber or leather material to replace your existing sole with.
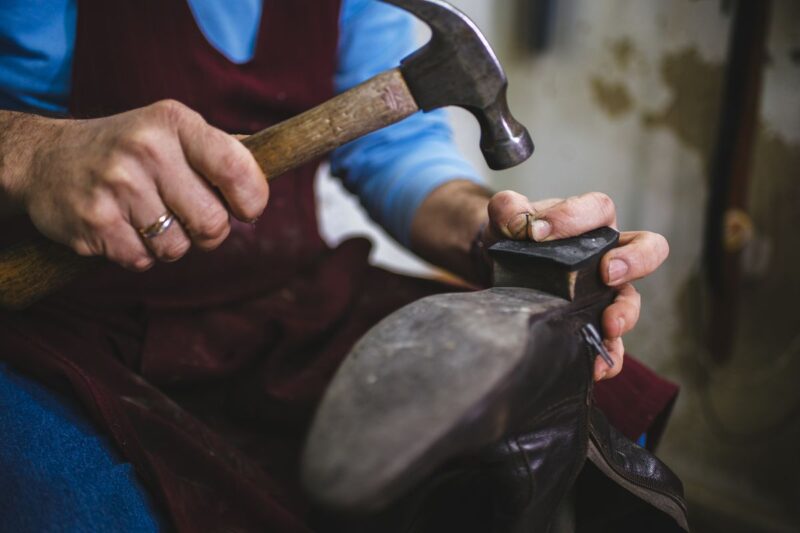
Once everything is ready to go, start by using your scissors or shears to carefully cut away at the existing sole until it has been completely removed from the shoe base. Make sure not to damage other parts of your shoe while doing this! Once finished, use some sandpaper on both surfaces (the bottom of your shoe and the newly acquired replacement) in order to ensure they are smooth before gluing them together.
Then apply a generous amount of glue along both sides before firmly pressing them together – when done properly this should hold up just fine! Finally, take some extra care around any seams where two pieces may meet; add additional glue if needed here too! And there you have it – with these simple steps completing DIY Sole Replacement Giving Your Shoes New Foundation has never been easier! Now get out there and show off those refreshed kicks – happy strutting!
Conclusion

A DIY sole replacement is a great way to give your shoes a new foundation. It can be tricky and require some skill, but with the right tools and instructions, it can save you money on expensive shoe repair services.
If you don’t feel comfortable taking this project on yourself, there are plenty of professional Shoe repair near me that can do the job for a reasonable price. With these tips in mind, your favorite shoes will have a strong foundation for many years to come!


